Thursday, October 24, 2013

Well hello again blog!

Poor blog...you have been so neglected. One might think that I have been sitting on my arse eating bon bons and doing nothing with my business, but that couldn't be further from the truth. Lily Cole Designs is so busy that I haven't made any time for blogging/facebook, etc. Well that is going to change, starting today. Nice to see you again blog, let's get to know each other again.

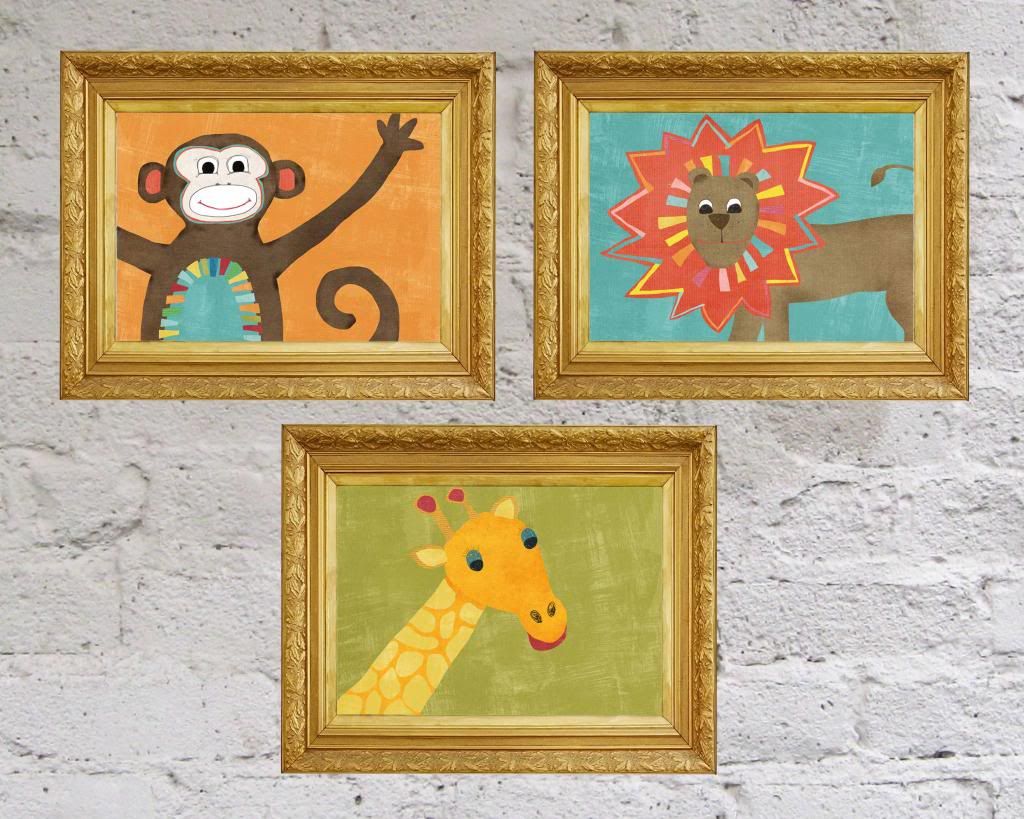
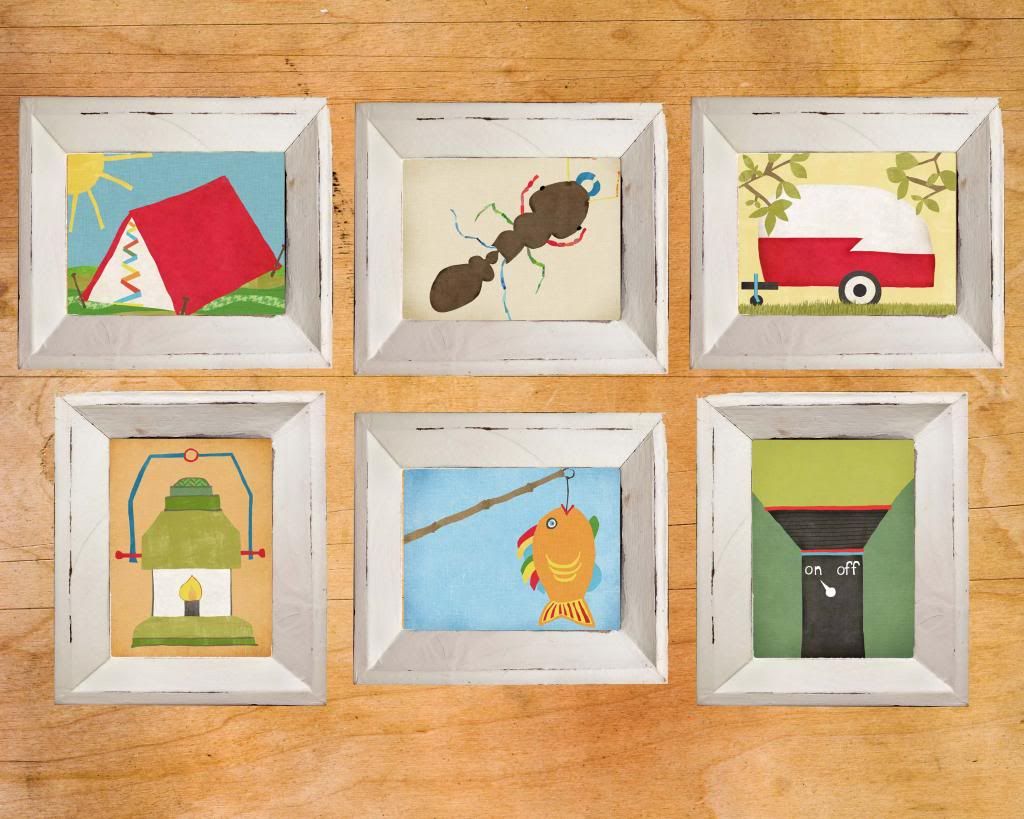
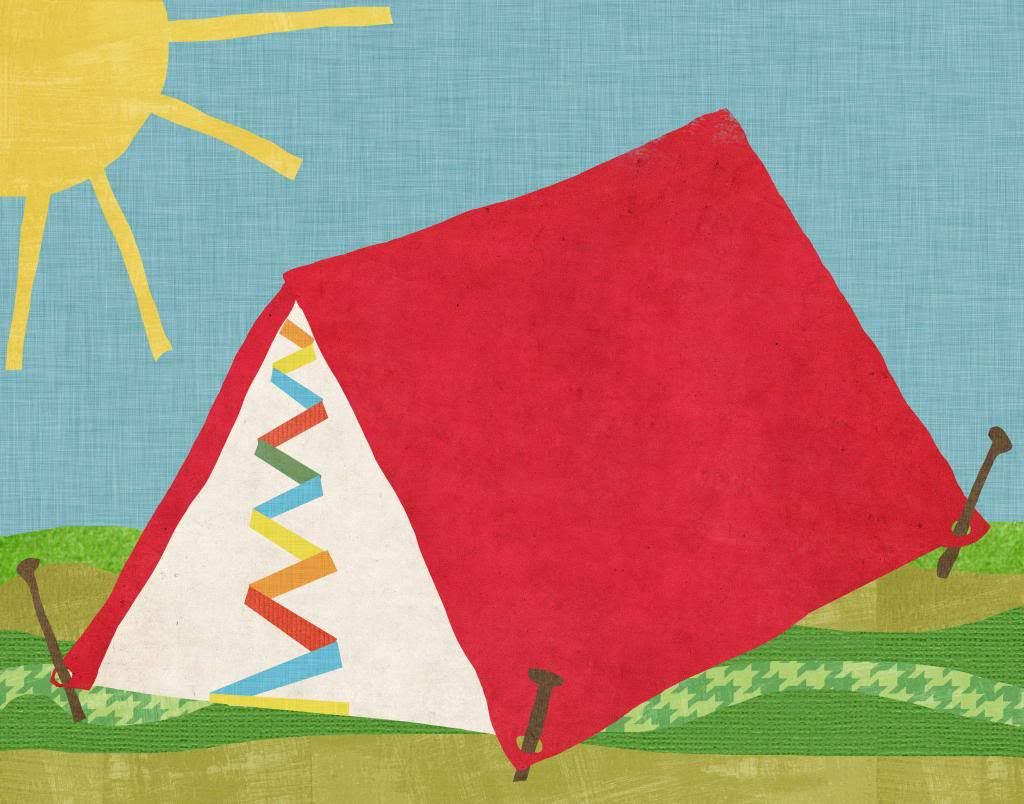
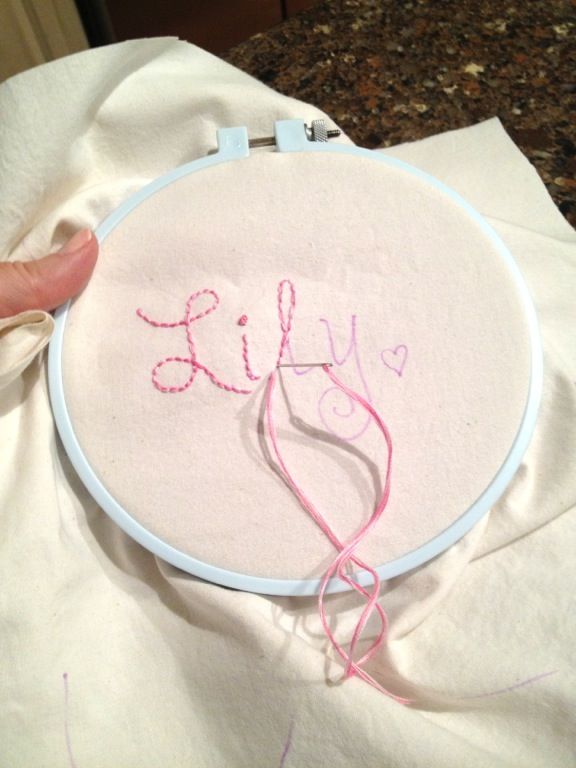
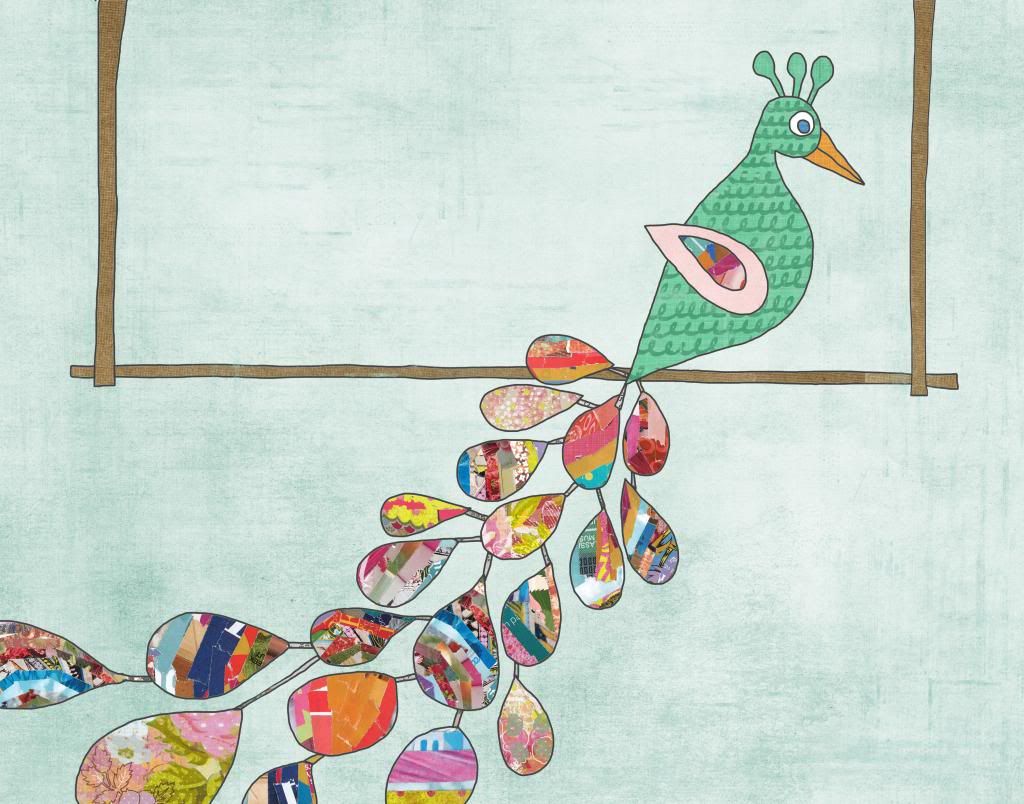
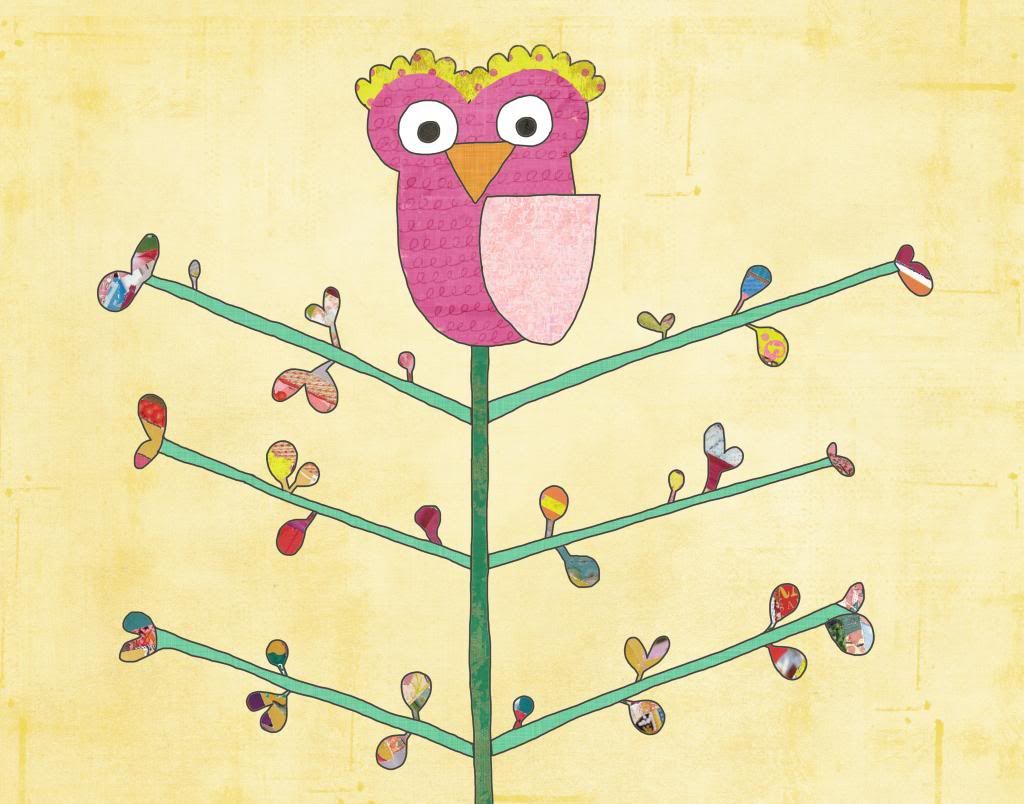
Lily Cole has been "in business" since March of 2011. Everyday since it's inception, I have created something. Here are the most recent works of art, so great for a little girl (nursery or child's room):


And everyday I learn something new. Every. Day. Sometimes I make mistakes that turn out to be a complete waste of time/money. Like buying iron-on transfer sheets - a lot of them - thinking I'd make a bajillion tshirts out of my own designs. Nope. Epic fail. Designs bled, some didn't go on all the way, others cracked off. After a lot of research, purchases, sample fabric ordering, and trial and error, I finally landed on the right solution for me: uploading my designs to Spoonflower and getting yards of fabric printed with several of my designs. I then cut around the design and stitch it on the onesie/t-shirts.


I also have made some SMART decisions. At the top of the list: hiring Stephanie Fizer Coleman to consult me on my business. If you don't know Steph's work, check it out here and her blog here. Her work is amazing, she sells worldwide, has licensing deals, is a book illustrator, and has a fantastic Etsy shop (the Fox and the Teacup). She has "been there done that" but even more appealing is that she is willing to share her learning experiences with others. I have found many other artists who aren't eager to share their secrets (like, where do you get your supplies? how do you get your artwork printed?). Steph has answered probably one hundred of my questions so far (and if you know me personally, you know that I have a tendency to ask a TON of questions). If you are an artist or entrepreneur looking for advice on growing and maintaining your business, I highly recommend you check out her services: Creative Biz Coaching

I have been working with Steph for 3 weeks now, and already my business is about to undergo some major changes. Here is a breakdown: 
  1. Instead of getting all of my printing outsourced, I will now be printing everything on my very own new printer. This was an impactful decision for many reasons. My workspace is limited and I had to clear out many old craft items to make room for this beast of a machine
  2. Printing at home means I also need to have paper (several different sizes), a paper cutting machine, and shipping supplies at my house. Saving money in the long run and it gives me more control on what is delivered to customers. 
  3. I rarely do any advertising or marketing, but I am learning that utilizing existing social media outlets can be really impactful. I struggle with blasting the "look at me and all of my talent!" communication a bit because it seems very "self-absorbed." Yet I plan to have a different approach. Stay tuned. 

Thanks for checking in (and hanging with me after a long blogging absence). 


Saturday, June 8, 2013

Nursery art for boys

My poor, sweet little blog. It has been neglected for months! There is so much to share.

I have really wanted more excuses for creating boys' room artwork. I have searched high and low for cute artwork and it is tough to find.

Here are a few illustrations I've created recently. These illustrations can be sized anywhere from smallish (5 by 7 or 8 by 10), to bigger at 11 by 14 or 16 by 20.


Also, camping anyone? For a little boy's room - especially the outdoorsy types - I just couldn't resist illustrating a camping theme.


These are boyish, rustic, weathered looking, textured and full of color.


You'll find that a lot of boy decor includes primary colors. While those are not typically my favorite "main" colors to use, I like blending them with soft blues and greens to create a ton of color, while complimenting existing decor.


Wednesday, February 6, 2013

The tooth fairy is coming!

So we had an "emergency situation" yesterday (according to Lily). She has a loose tooth that is so close to popping out and we did not yet have a tooth fairy pillow (oh the horror!). Yet when I am assigned with such a craft task, I am ON IT. I don't seem to have that quality when it comes to housework or cooking, but make a pillow for my daughter - well that is a priority above all others.


See how that tooth already grew so far behind the baby tooth? Is that normal or should I call the dentist?

So making the pillow was super easy and fun.

1. Cut a pattern of a tooth shape using Kraft paper. I love that stuff. Pick it up super cheap at Dollar Store or Walmart and we use it for patterns, for wrapping all of our gifts, which the kids then decorate with pictures - see Christmas photo. And of course, I also use it to package up every Lily Cole Designs box that I take to the post office.


2. Find an off white fabric - double it up if you are going to embroider a name on it. 
3. Find another colorful fabric for the back. Have your child help you pick it out! 


4. Embroider his/her name on the light fabric. First write it out using disappearing ink pen. I love that thing. It really FULLY disappears!


5. Place right sides together, then pin the pattern on top. Cut all pieces of fabric around the pattern. Take the pattern off. 
6. Make a little pocket for the tooth to go in. Pockets are really easy to make. Just fold down all four sides of a square of fabric and stitch them down. Then place it on top of your fabric and stitch the  3 sides to it, leaving the top open. 
7. Pin the right sides together of just the fabric. Sew all around the tooth, but leave about a 3 inch opening on the side. This is the opening you will use to turn it inside out. 
8. Turn it inside out.
9. Stuff it full of stuffing. Have kids help. It's fun.  
10. Then stitch that 3 inch opening closed. I started it and Lily finished it. I think you can tell which stitches she helped with. I think that is my favorite part of the whole pillow. 


11. Then love on that pillow and wait for that stinkin' tooth to pop out!